December 2009:

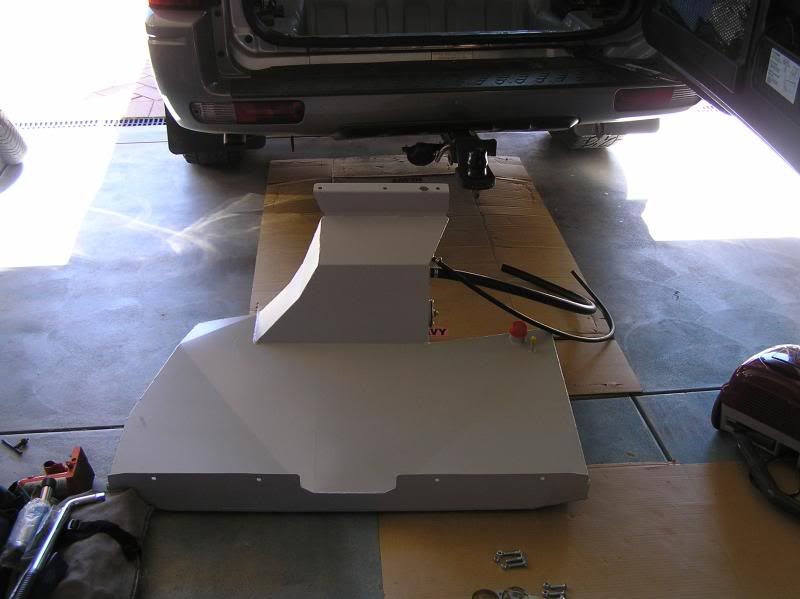
Today I fitted my Aux fuel tank to the NP and thought I’d share what’s involved. This guide is for the “long ranger” 60L NM/NP tank. First of all, I had to strip my interior, including my rear storage, which wasn’t designed to be removed easily. Once this was done, I had to remove the rear carpet (there’s a couple of screws on the outside of where the well cover sits. Peel the carpet back. Then remove the rear seat well liner. There are 2 screws each side that mate with the side panel trims. Lift out the carpeted sections around the rear seat belts to reveal these. Then there are 6-7 screws holding the rear of the tub in place (revealed once you pull the carpet back). Then pop the 3 plugs holding the trim nearest the rear door and pull up. With a bit of shagging around manoeuvring things out the way, the tub should now come out.

Next step is to drill the front mounting holes. Using the (a bit shabby but effective) drilling jig supplied, place this over the rear seat hold down bolts and drill 3 x 8.5mm holes. Debur and rust proof (I used gold galv)
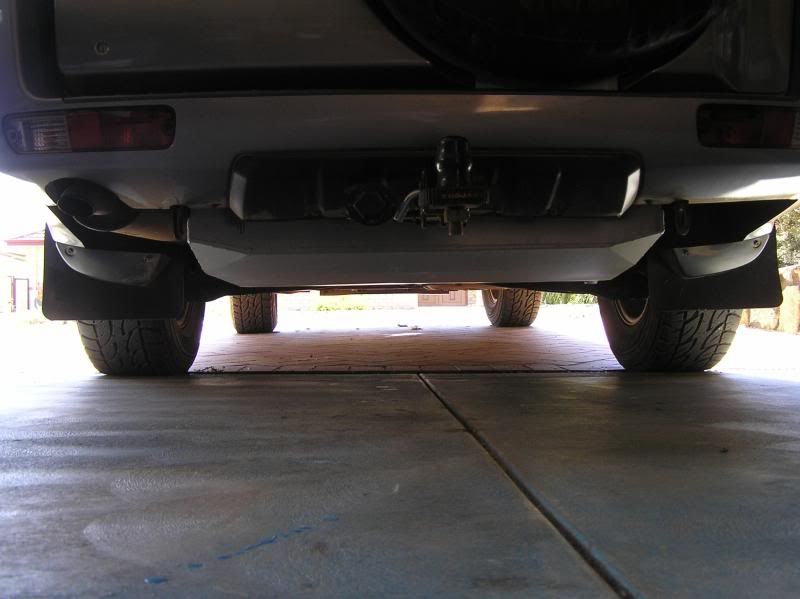
Fit the sender and breather lines to the tank and foam tape to the underside of the seat well.. Then its a matter of man-hauling the tank into place. I used a trolley jack approximately center of the tank. The tank isn’t flat, so when the front was near position I used a bottle jack to get the front into place. The sizing was tight, I found it was hitting the rear of the outside seat well, so dropped the front a bit, started the rear of the seat well bit first then jacked the front into position. Bolt the front when the tank is in position (jack not removed). Getting to the nuts underneath will chew your arms and hands to bits. I used a 500 long extension bar with a uni-joint on the end. You’ll need another person to hold the bolts whilst your underneath tensioning the nylocs. Now, you can use the tank as a jig to drill the 4 x 8.5mm rear mounting holes. I had no issue with towbar clearance but I did have issues with the bumper bar being in the way. It is flexible, so you can bend it to clear your drill. Once again, debur and rust proof your holes. I also used a sikaflex type compound to goo the holes before fitting the mounting bolts. They are quite low and you really don’t want to get water in your seat well. (the same for the transfer pump a bit later on). Then fit your bolts and tension. Your tank is now fitted in place and you can remove your jacks and anything else underneath.
Now the scary bit. You have to cut your oem filler and breather tubes. I did mine insitu. You could remove this tube, but make sure you've got little fuel in your tank as I’ll explain latter. The fitting instructions are pretty good in respect of where to cut everything dimensionally, I wont go into the detail here, but I can email the instruction sheet out if requested.
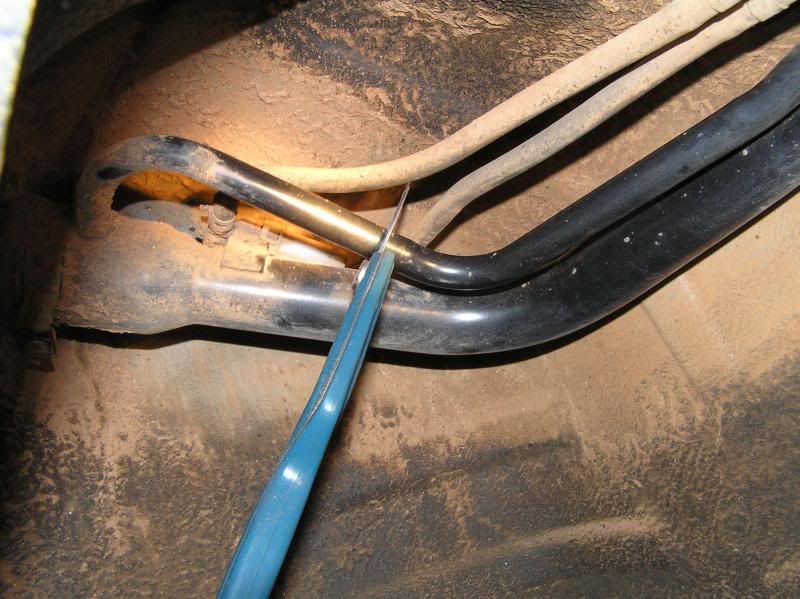
The breather tube is too small, but to stop swarf from entering the filler, I pushed a rag down with some wire, just past the cut line. Anyway, a lot of shagging around and I had the tubes cut. Then you can unbolt your oem filler and remove. I wouldn’t recommend cutting these insitu with petrol in case of either static of friction sparks being created.

This is where I made my biggest mistake. My bad, your gain. I thought I’d hook the vac up to the breather and suck the swarf out. I think it worked?? Then to remove the rag from the filler....OMG where is it? Surely It didn’t get sucked down whilst I had the vac on the breather???? A longer piece of wire down the filler to try to “feel” the rag...no good. Damn, I hope it hasn’t made the tank. Oh well if vac sucked it down, maybe positive pressure might push it up? Blowing compressed air down the breather yielded no result but diesel on the concrete. Damn, now I’m going to have to remove the hose assembly. Popping the pipe out of the flex hose near the tank had an eruption of diesel going everywhere...Shit, get it back in. Now the floor in the garage looks and smells like your local Caltex, I gather some rags to try to mop up the mess. Bugger, now what do I do. Well, I have to go in, so I go looking for a drain in the fuel tank. I find a screw that looks the goods, find a bucket and crack it. Success...you’ve no idea how long it takes to pour 40L of fuel through an 8mm hole! Every 10 or so litres, its put the plug back in (diesel pouring down your arm) decant the fuel into a jerry and repeat. I didn’t want to completely drain the tank so I stopped at 40 and took the risk of removing the tube again. No firehose of diesel this time. There is an anti-syphon valve at the bottom of this tube, which luckily stopped my rag from making the tank. So by the time everything was back to where I started this chapter, I guess 3 hours had gone by...
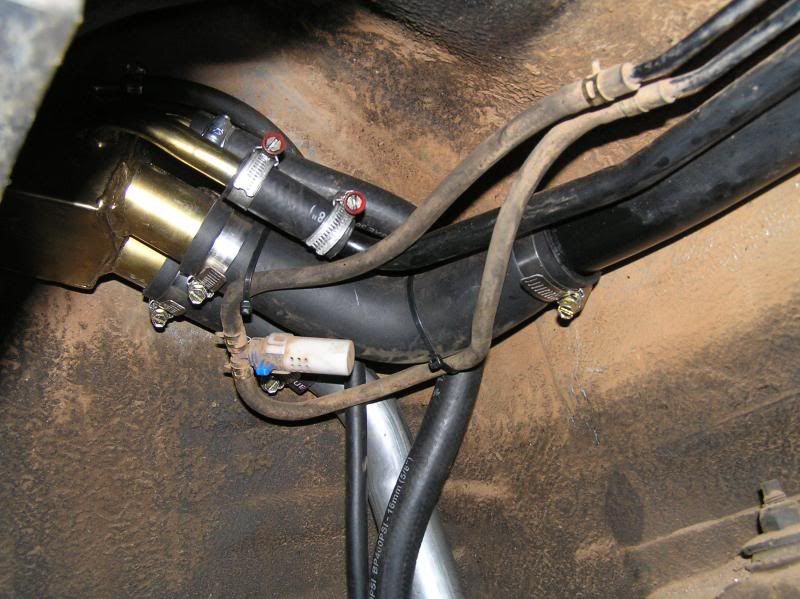
Now back to the topic. Fit the dual filler and make sure you use some type of thread goo on the bolts (again I found this by mistake after testing the transfer pump). I wont go into all the detail but now you hook up all your hoses. Its a bit like spaghetti under there.
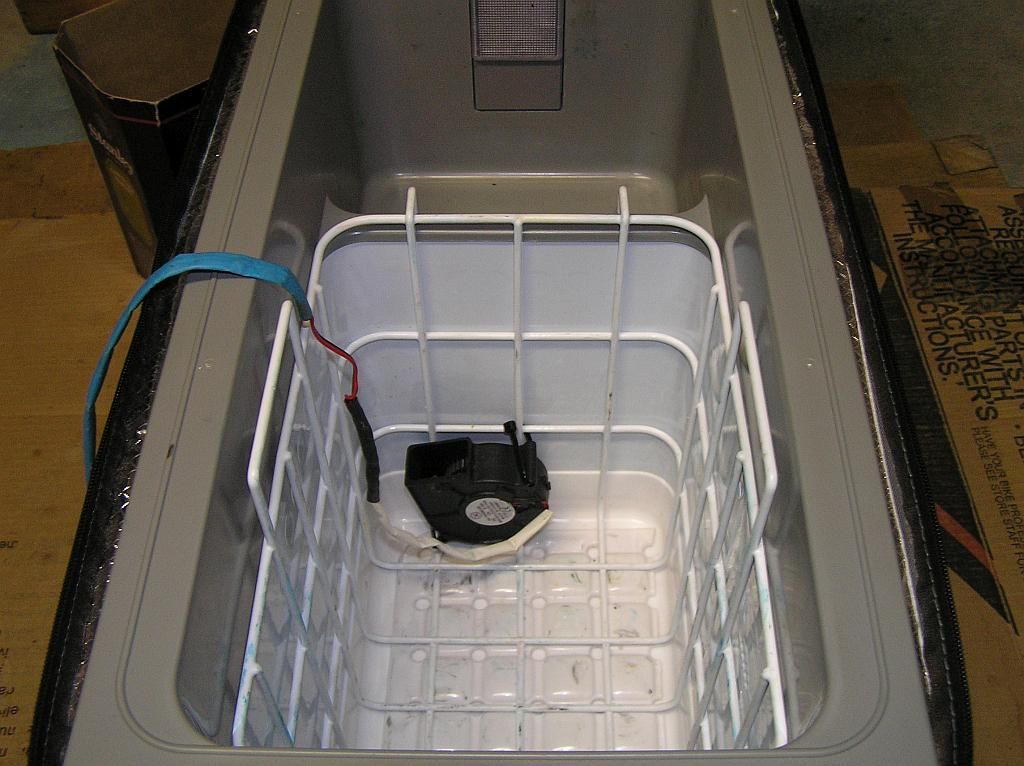
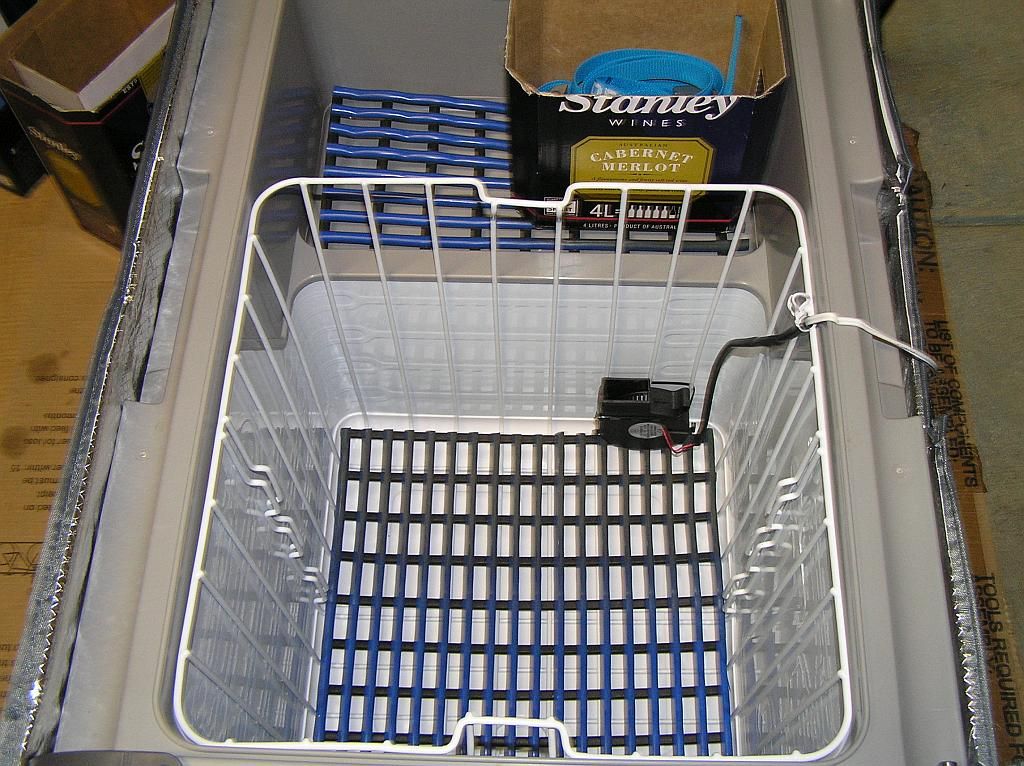
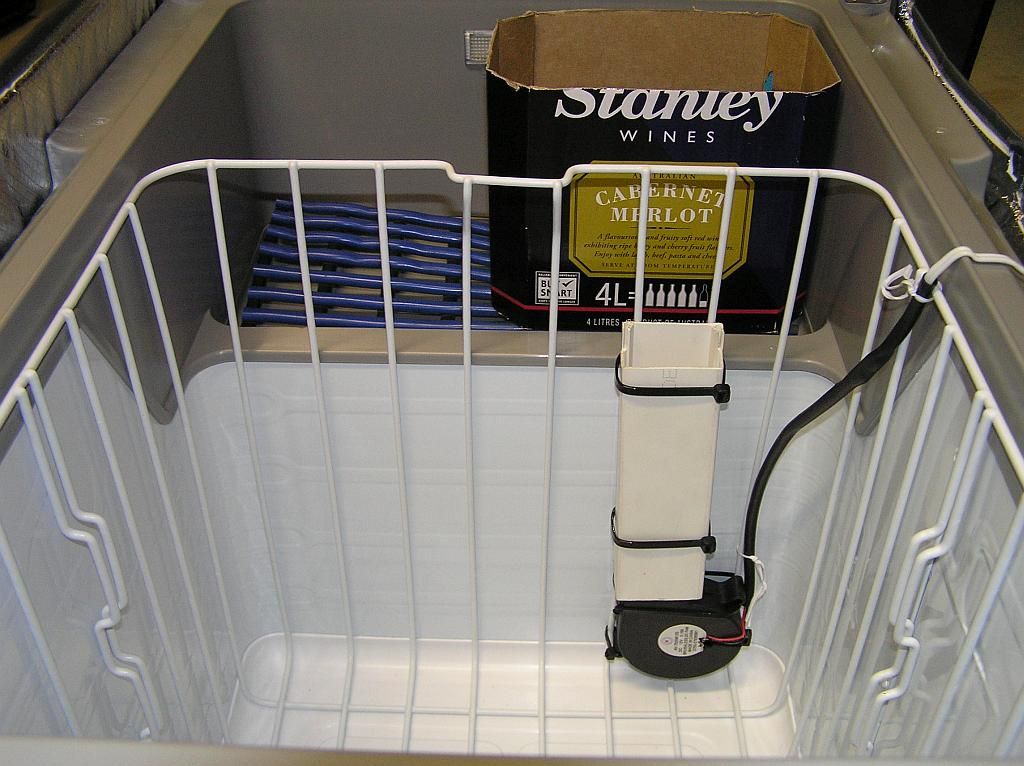
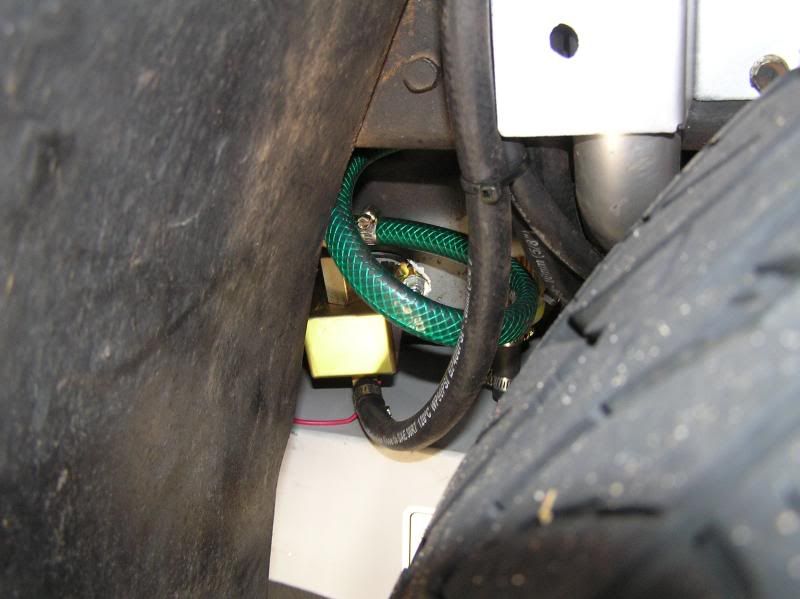
Then its a matter of finding a spot for your transfer pump, drilling the holes and mounting it. I thought I’d mounted mine like in the pic, but in hindsight, it was probably too low. I couldn’t get the hose to fit the pump without a kink. By now its about 8pm, I haven’t had anything to eat all day and im starting to get over it. So I used a bit of the good old nylex for testing purposes. The 40L I drained from the main, I put into the Aux and ran a wire with a positive voltage to it. Bang, Bang, Bang it goes running dry. Then all of a sudden, presto, it goes (relatively) quiet and fuel starts to transfer. Good chance to grab a beer.... A beer or so later (wasn’t timing it, maybe 20 minutes) the pump starts bang, bang, banging away intermittently. I look at the filter and you can see air coming through, so we must be near bottom. I let it run like this for a bit then considered my testing complete. I did find some leaks at this stage (hoses and the dual filler) so I gooed the threads on the filler and put some more tension on the hose clamps, now all seems ok so far. You can put your interior back together now (bearing in mind you need to route the electrics somewhere??)
I was well and truly over it by this stage, so I haven’t bothered to route the electrics or install the gauge/switch yet. A job for today, after lunch. I fuelled both tanks this morning and I tell you what, you sure can notice the extra weight from the 60L on the back. Also, the Aux fills so nicely, but the main is now hard to fill (maybe I had a fast pump, will have to watch this and investigate). Interestingly, it looks like my standard suspension has compressed by only about 10mm with this extra weight. But I’ve ordered a lovells/bilstein/polyair lift and will install sometime in the new year, . I think you really need to consider some suspension work if you get one of these. At about $1800 RRP fitted, there not a cheap investment. Everyone that has fitted one has said to me that its the best single investment they’ve made to their Paj. Well, I’m building an outback tourer, but personally I don’t think I would have spent the money on one. I was lucky, I saved about 1K on mine by fitting myself, so I’ll put up with the Caltex theme in my garage and my aches and pains I noticed when I woke up today. I hope this how-to helps someone in the future and gives someone a laugh today.