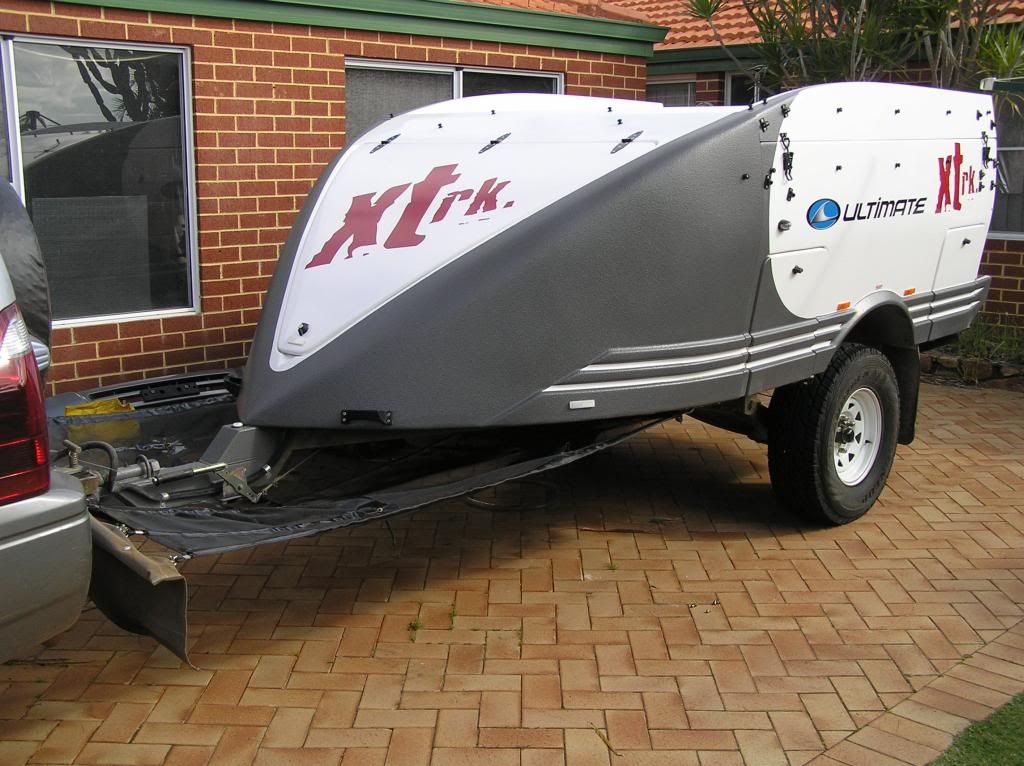
Well, August 2012 and the deal is done.
First pics:
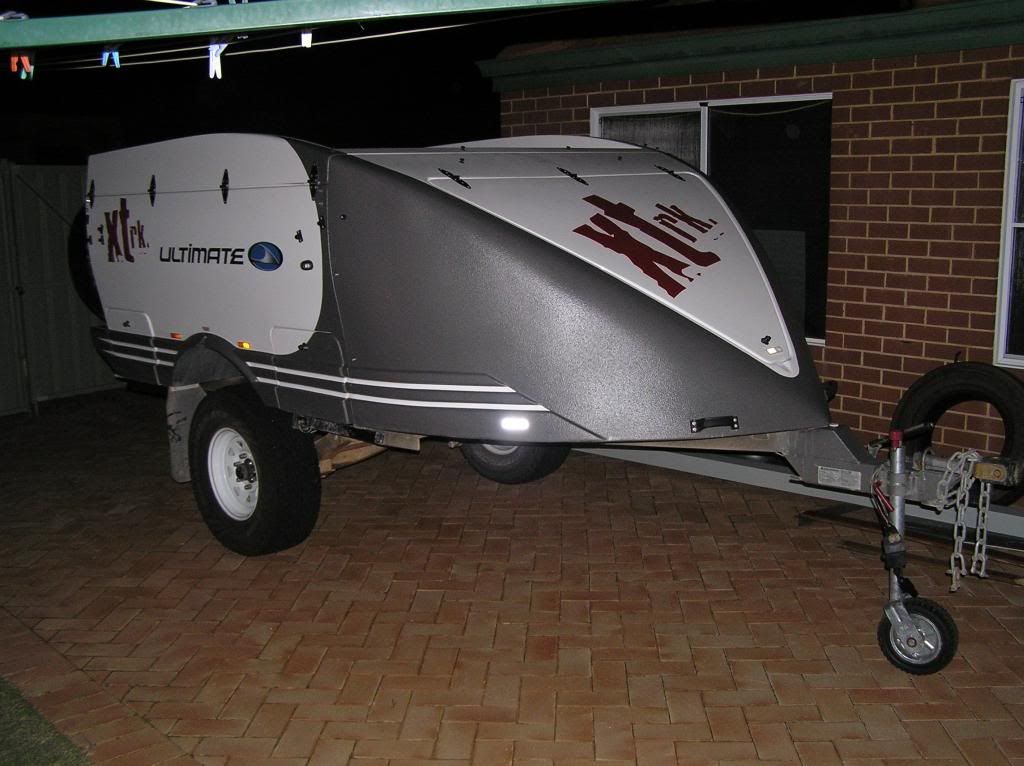
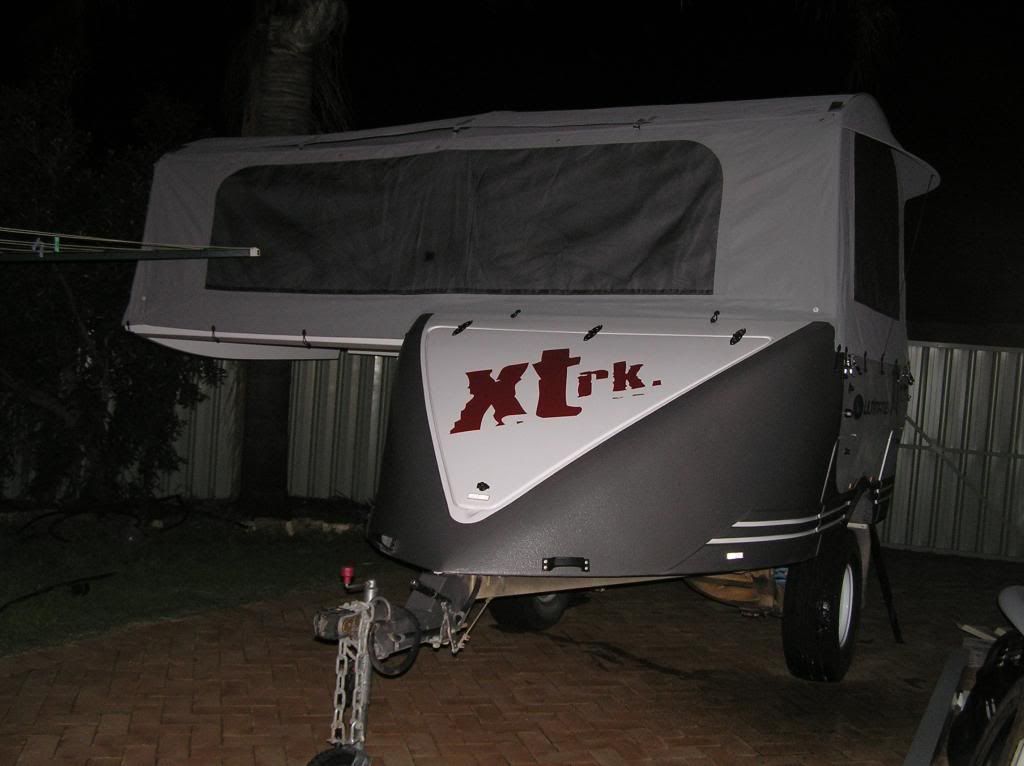


So I ended up swapping a keeled boat for a wheeled boat!
Lots of mods to do. First up, cutting a hole in the fiberglass to fit the evakool Arrgh!
**********************************************************************************************************************************
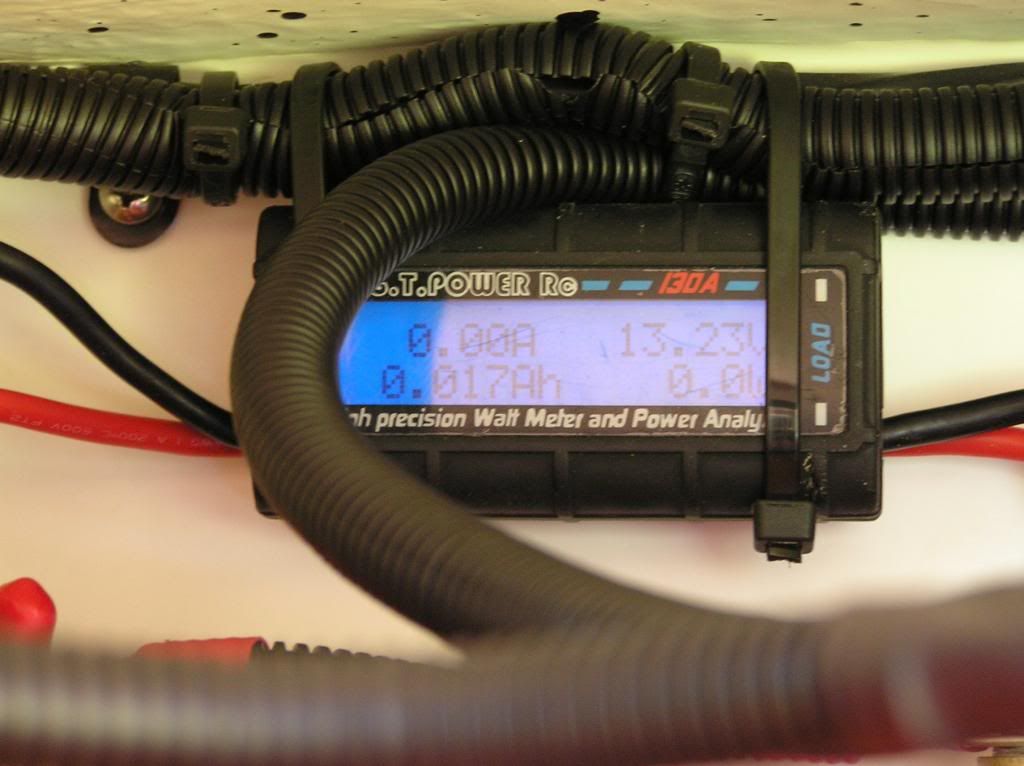
Well maybe I'll do the distribution system first......
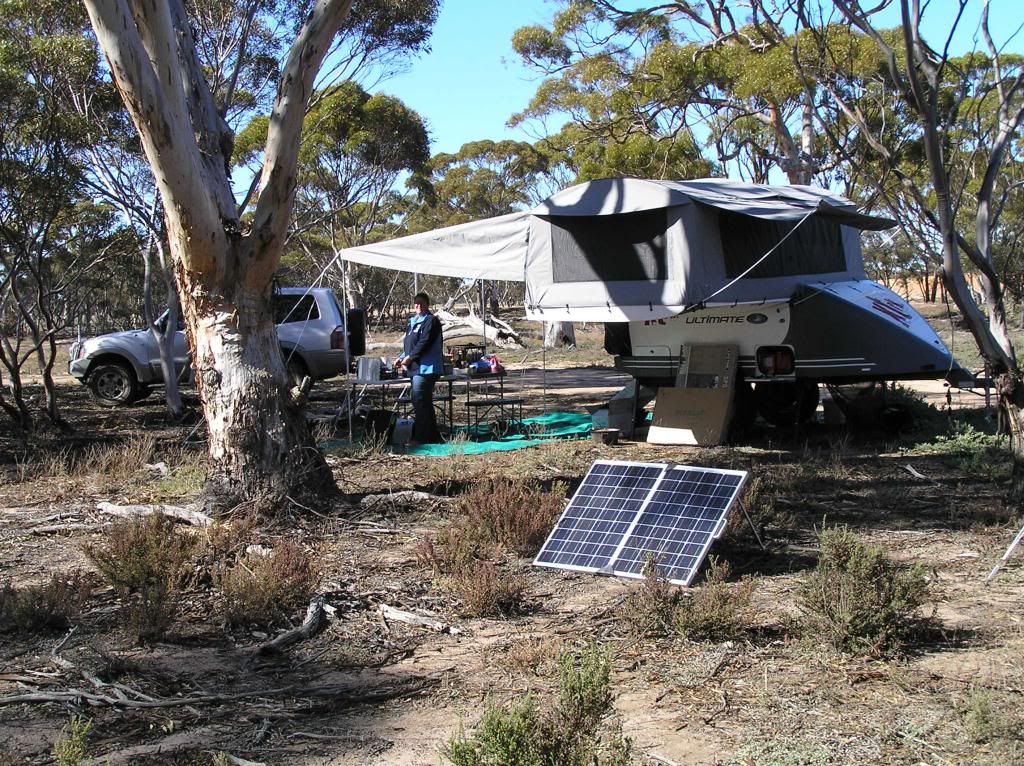
2 x 100 agm's, inline monitor, redarc bcdc1240 charger, 6 pot fuse box for distribution and an anderson for charging/solar.
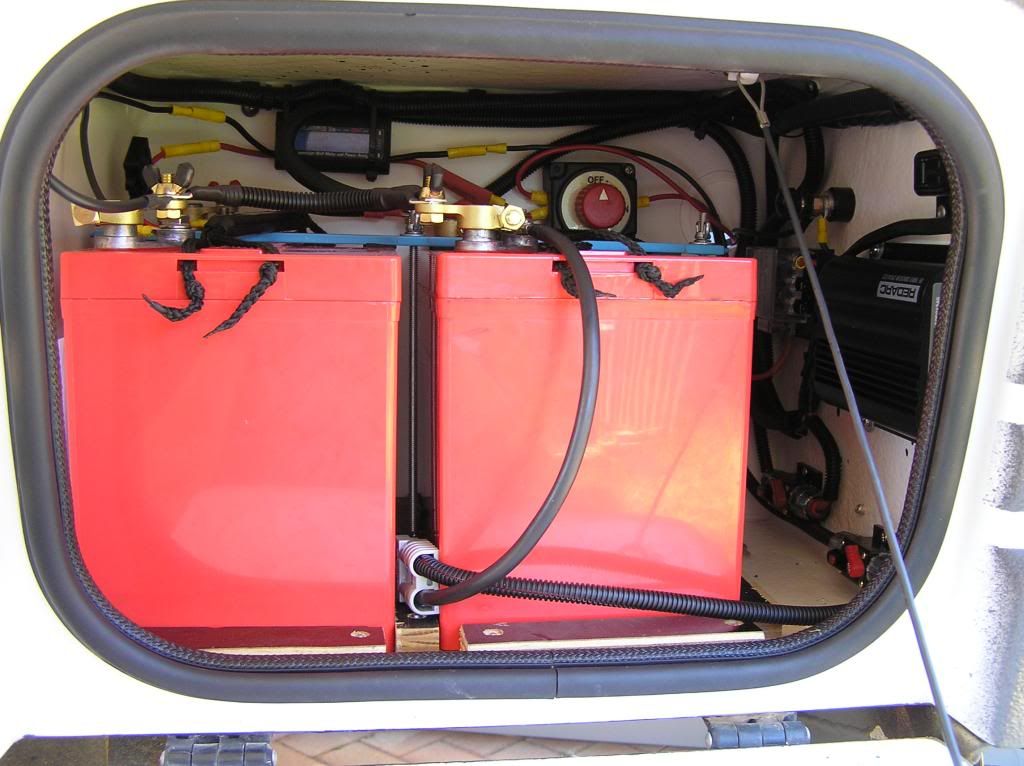
I had a slight hiccup with the battery install. I kept all the oem stuff so it can be set up as original if ever needed. As such I had to remove a cable lug. A good plan was to bang a small flat bladed screwdriver in there to force open the crimp. Some light taps did jack. A heavy lunge and the cable lug went sideways and the screwdriver buried into my finger. As you could imagine, I shook my hand in agony, only to have my face, shirt and trailer sprayed with blood. The paving looked like the texas chain saw massacre had just taken place.
A few days later when I washed my hands, my bush stitches (bandaid) slipped off. Only then did I notice both an entry and an exit wound, opposed width wise on my finger. Bloody hell, I punched the driver all the way through.....
So lucky I still have full movement and feeling in the finger.
Let my bad judgement be a lesson for those that like to tinker.
And the ironic part of that....10 lugs cost me $7.00.
So for the sake of 70 cents, I very nearly suffered permanent injury.
What a tight arse I am sometimes
**********************************************************************************************************************************
So after the bats were complete, I got even busier
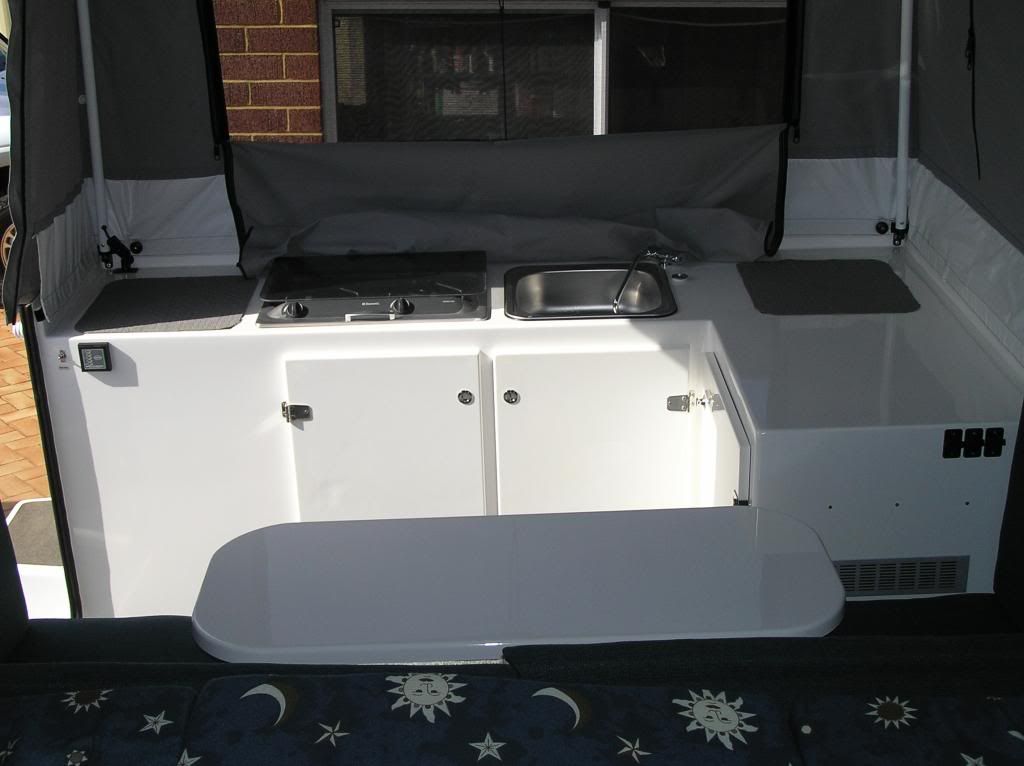
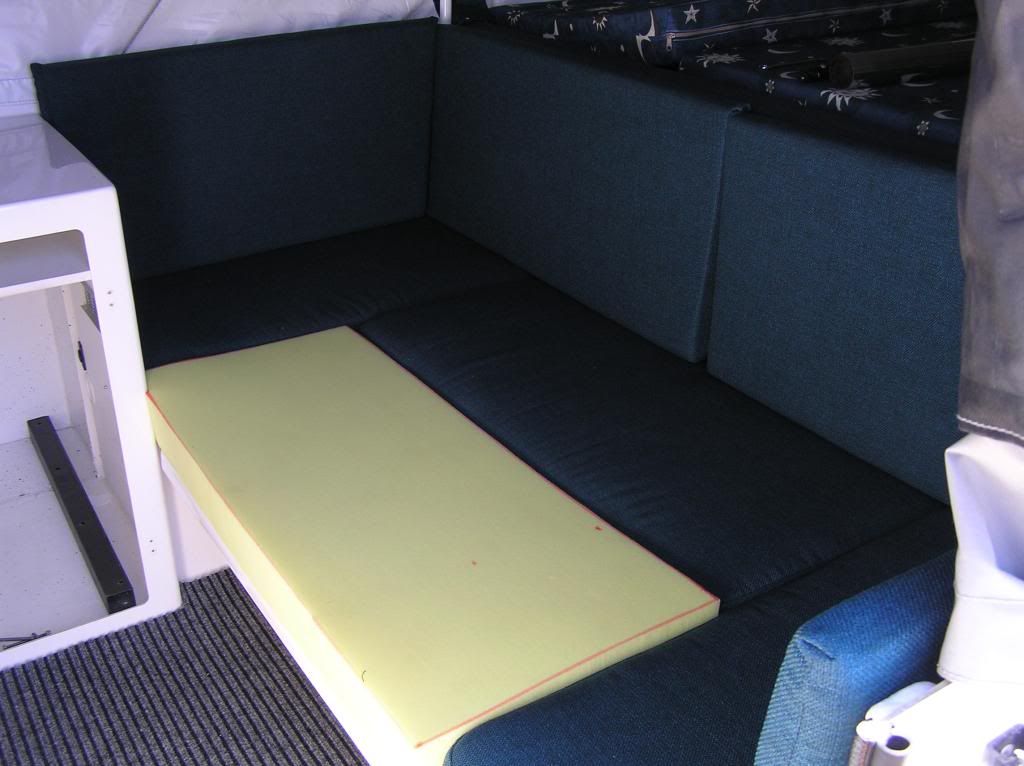
Got some foam (that's bloody exe) as I decided to make my own bed infill. Some material from spotlight and a few hours on the sewing machine and all should be good.
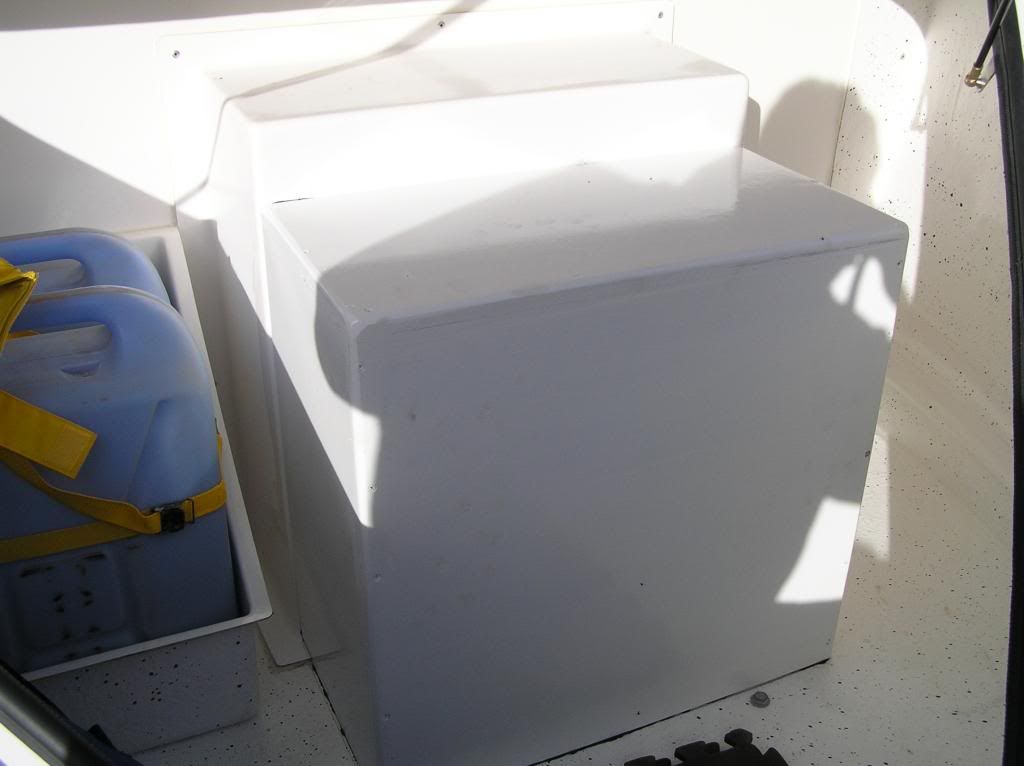
Then I got busy performing surgery and fitting the fridge.
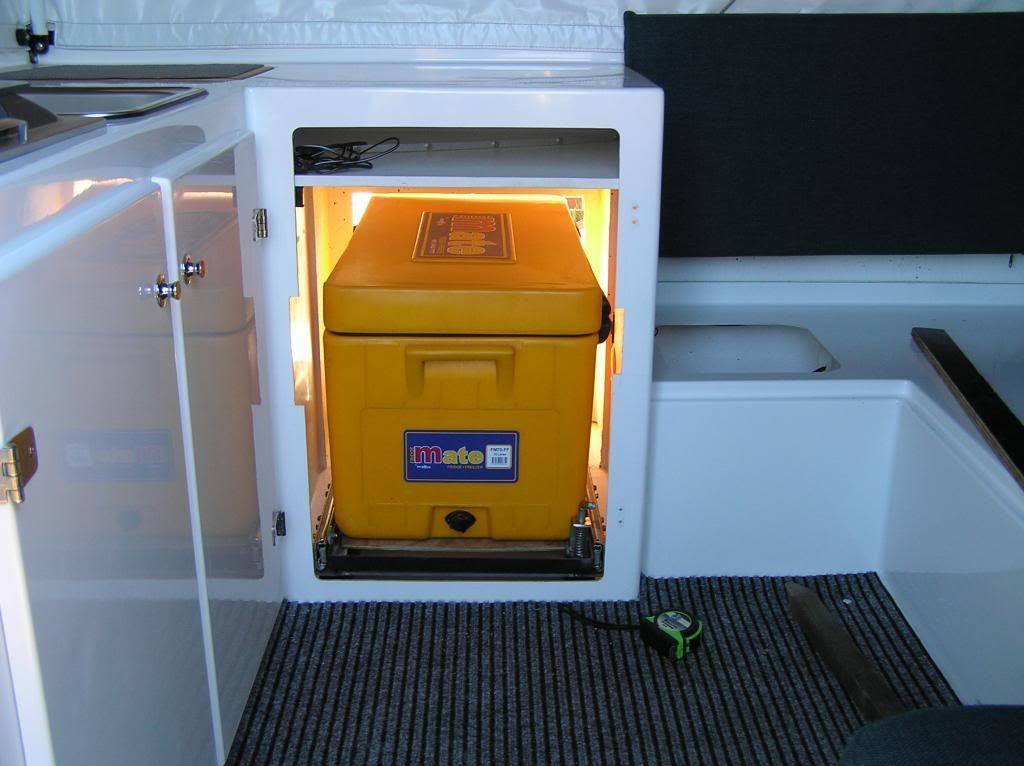
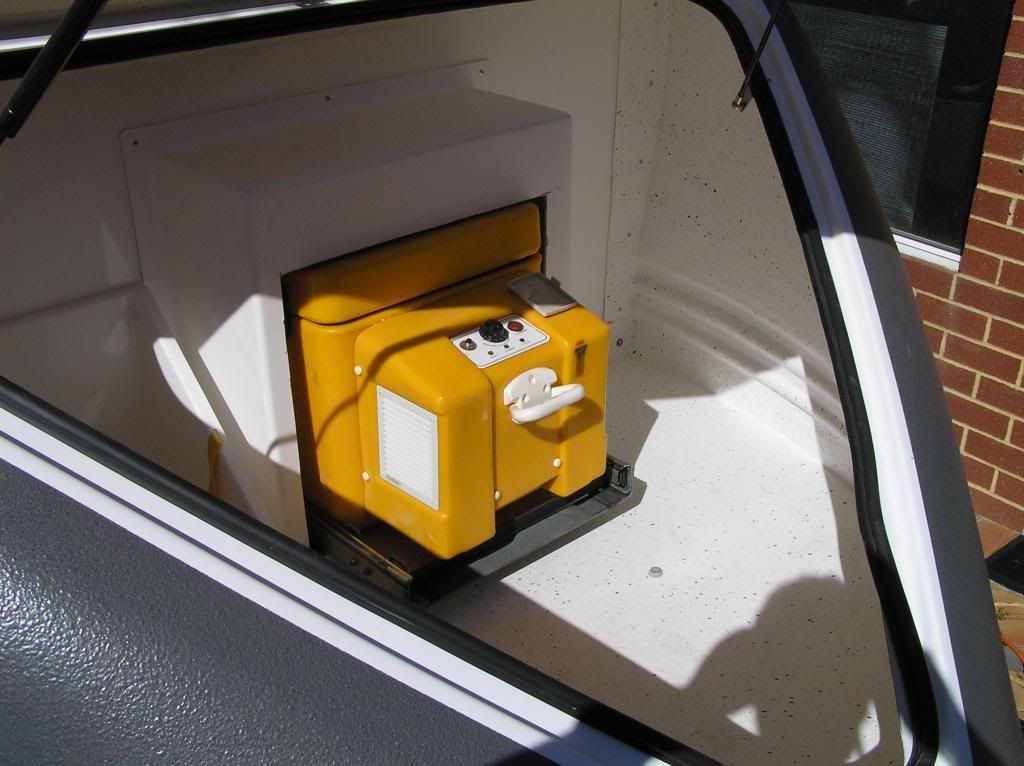
Just need to box in the compressor and I should be all set for the inaugural shakedown trip in a couple of weeks.
************************************************************************************************************************************
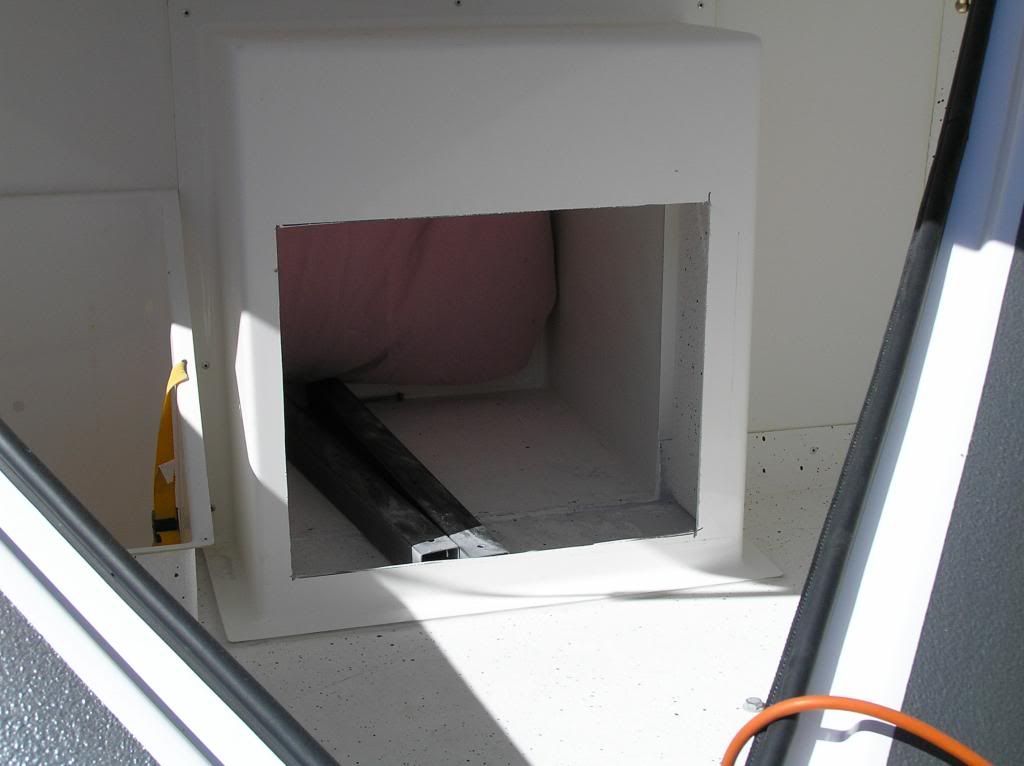
crap pic (had no control over the sun casting user shadows) but the hole is filled now. Sika'd in place, will screw and seal the outside at some stage.
Also had to cut the shield on my 9kg lpg to fit the locker box. I must say, cutting a partially filled 9kg...not very wise
************************************************************************************************************************************
Got the stomper fitted today. Almost ready for the maiden voyage
************************************************************************************************************************************
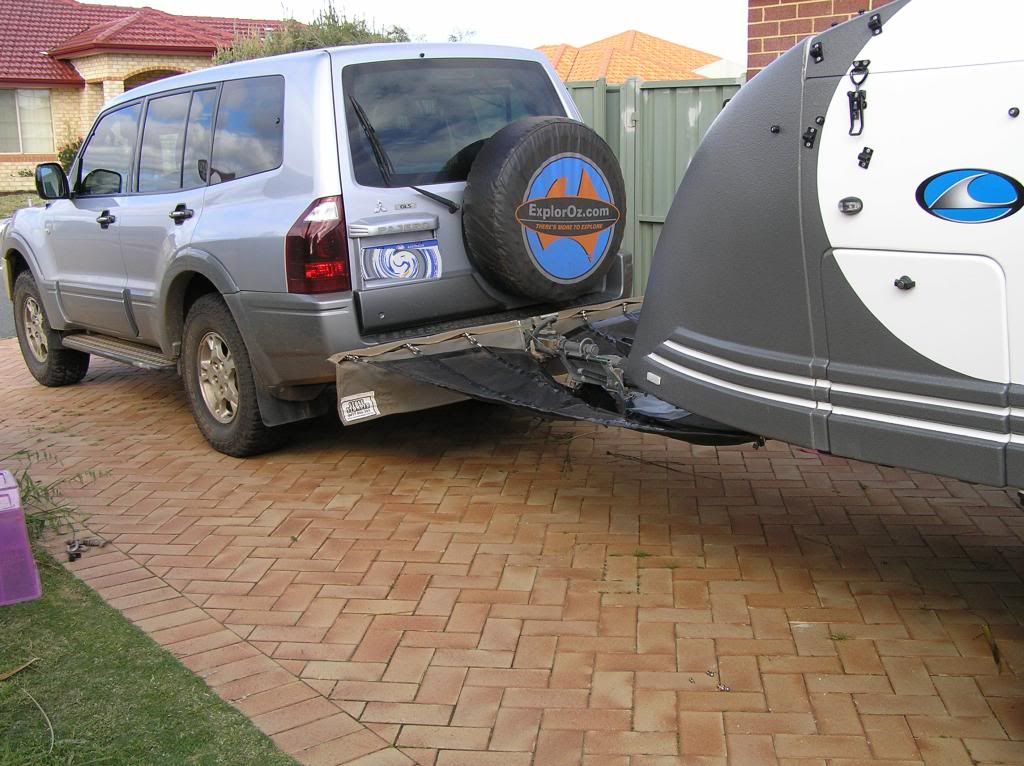
And then, the Ulti's cherry was popped
.
************************************************************************************************************************************
I thought I needed some light in the boot.
500mm of 5050 led strip, stuck to 12mm ali flat bar, clear heat shrink over the top of all that. Put an inline switch at the end of the strip click here
The strip is sika'd to the boot roof, out of harms way. I pulled the cable through the existing split loom tubing from the battery box and routed it out of harms way. The photo doesn't do it justice. It lights all corners of the boot very well :)
Thinking I may just do the same for my internal cupboards

************************************************************************************************************************************
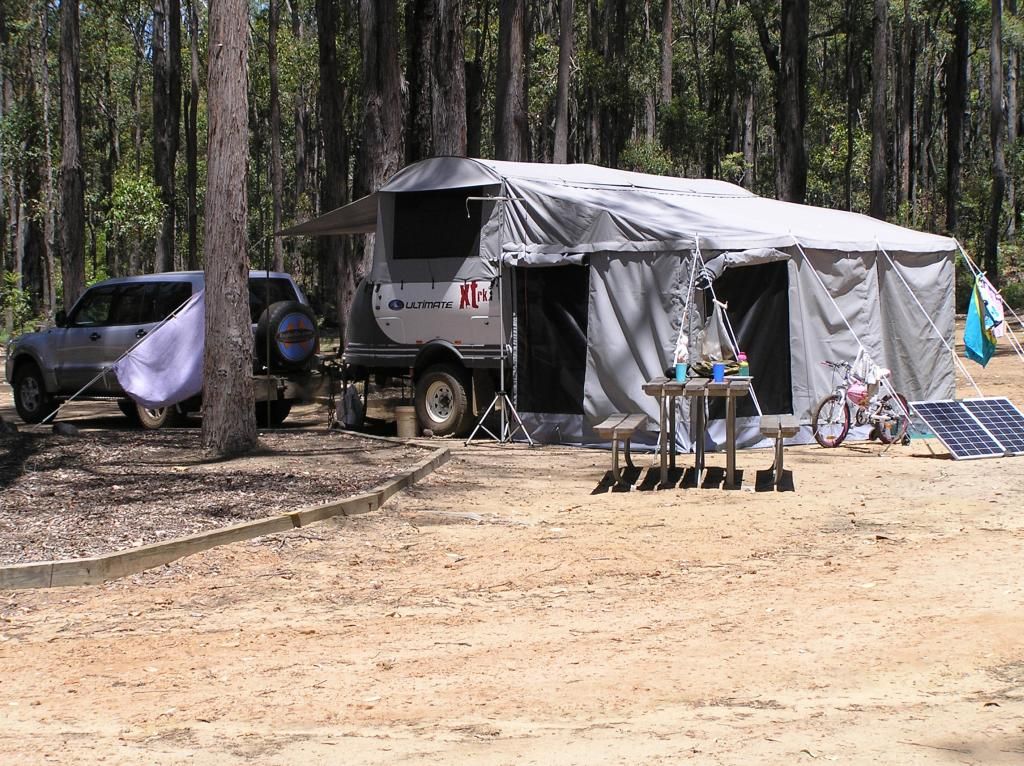
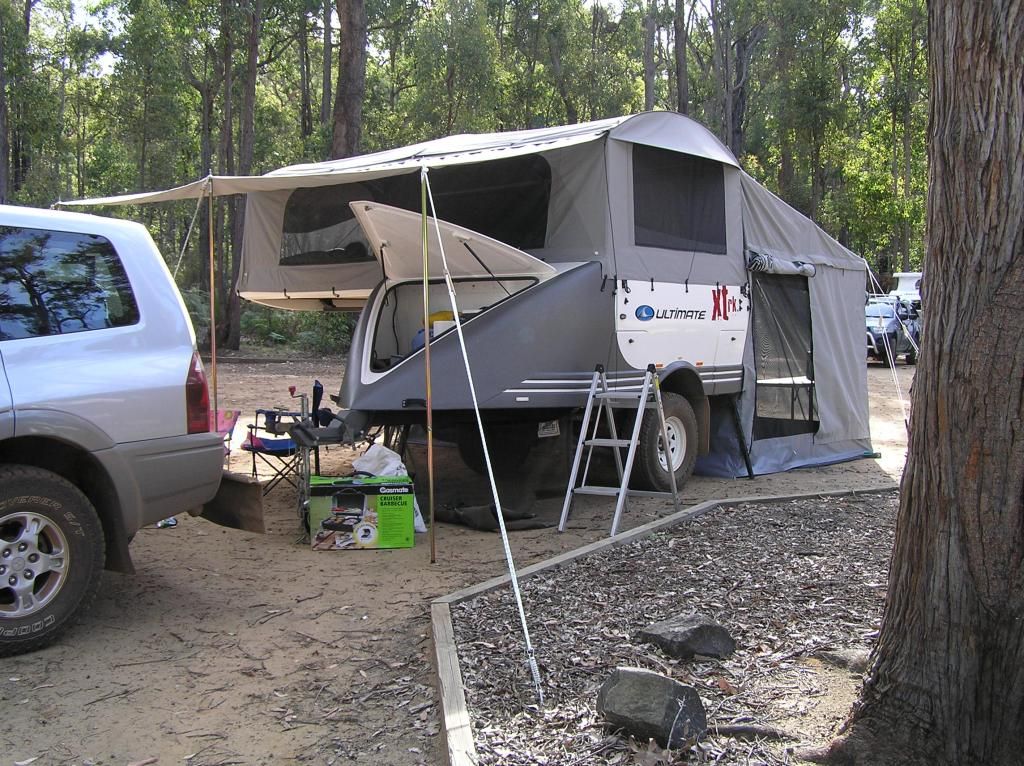
I placed an order for the full annex wall kit, so I can totally enclose the area under the main awning. Great for either insect protection or to create a wet weather area. Also a custom front awning, will come out the drawbar side about 2 meters and supported with poles and ropes. Will provide shade on that side of the camper and wet weather protection should I need to access the boot area. Not a cheap exercise
************************************************************************************************************************************
New canvas arrived on Thursday, just in time for a weekend jaunt.
Very happy. The custom front awning is just superb too.

************************************************************************************************************************************
End of blog November 2012. Will add to the blog as more mods continue
No comments:
Post a Comment