Feb 2011:
EVAKOOL FM70 REVIEW:

I took delivery of a new fridgemate 70L fridge in Feb 2011. Thought I'd post some results of initial testing (done at time of delivery).
I did a bit of reading on these before purchase. Interestingly I see people are playing with the divider height to adjust temp difference between compartments. I also read a good tip is when measuring temps, put the probe in a glass of water, don't measure air temps.
I have 3 temp probes. 2 are identical wireless transmitter jobbies, evakool and two zone branded. the other is a waterproof micronta unit I purchased some years back. I'm reluctant to place the wireless jobbies into water, I'm sure they're not water proof. However I get readings within a degree or two between the different types in the same (non-submerged) place.
I am really only interested in running this unit as a fridge freezer combined unit, so I will not evaluate it as a sole fridge or freezer.
The unit is loaded quite lightly (1x250Ml water and 1x 200gm steak in the freezer) and (1 x 250ml water, 1 x 6pack of glass stubbies and 1 x 2l cask of vodka premix in the fridge). This unit is inside the house, running off a supplied 240/12v converter. All testing below was conducted with the thermostat at 7 in normal mode.
When I ran this with the unmodified divider, as expected I had a large temp difference between the 2 sides (-17/+10 - air temp measurement only) - I'm sure the +10 air value is not a true indication.
So I put 2 small pieces of packing under the divider, about 12mm in height. This made a huge difference, however the fridge dropped to -3deg. This is too much for a fridge.
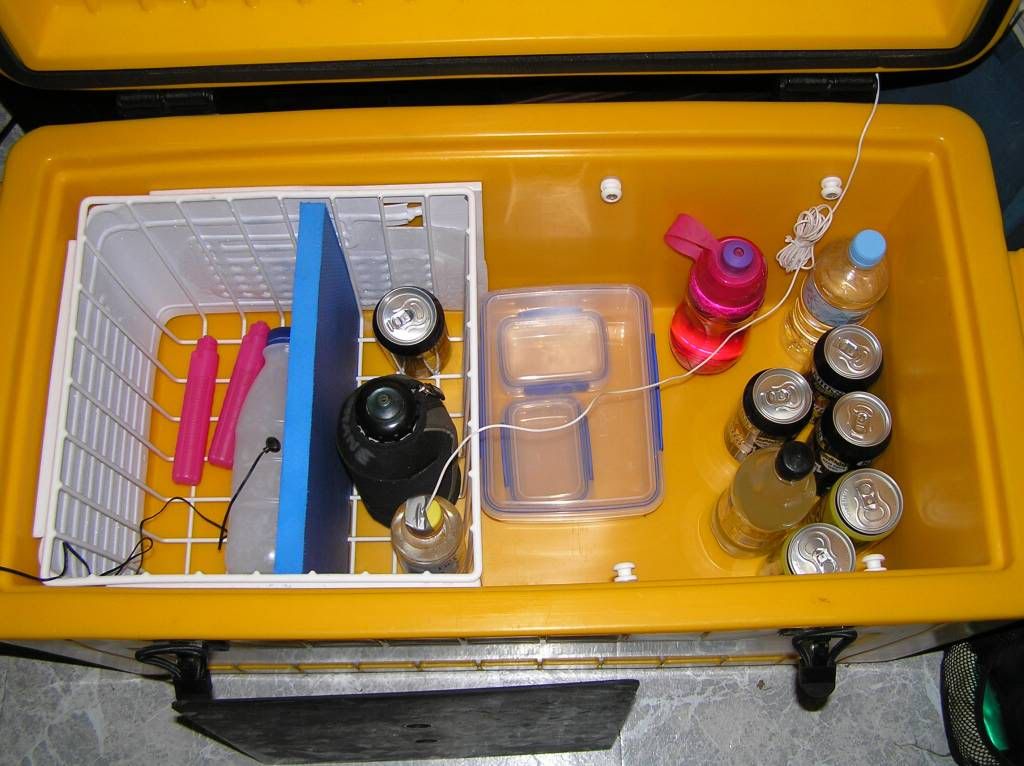
So I added some foam tape about 3mm thick at the bottom, effectively raising the divider by 3mm off floor level. This seemed to produce the results I was looking for. I now have a freezer temp of about -11 and the fridge is about +2. This is about temp differential I was trying to obtain. The freezer probe is on top of the steak with the frozen water sitting on top of this. The fridge probe is the micronta unit in the bottle of fridge water. both probes are near the bottom of the baskets. It has sat in the house for 12 hours untouched, ambient inside temp at present is about 28 deg.
I should report back the results of either switching to economy or reducing the thermo to about 4 overnight. Something I would probably do when out bush under battery power. I have not measured compressor cycle time as apart from the 12 hours today, I keep removing beers from the 6 pack
Some interesting things I've noticed so far.
The supplied lead is only 1.3mm sq conductor area about 2mm core dia. This is terminated in a hella/merit combined plug.
The lead is terminated on the fridge by a pissant cannon type connector. Someone I know on a forum reported recently that he did some heart surgery to his evakool fiberglass unit and changed this plug and also the compressor wiring. I'm sure some efficiency gains could be made here.
The baskets sit proud by 30mm off the fridge floor (to allow cool air to circulate). You lose some storage height from this. The baskets are supported by 4 (again pissant) plugs riveted inside. I can see these will fail when fully loaded over the rough stuff. I will make some sort of heavy foam strip to take the load off the plugs.
The outside of the poly shell feels about 10 deg below ambient (guesswork here) so you are losing some efficiency to atmosphere.
I find the bungee straps keep getting caught under the lid when you close it up. Not a problem, just a small inconvenience.
These are quite low but long. being so long, I believe lid bending can be an issue. However I can live with this if it can be rectified by adding some more foam tape to create a seal (mine is flat at present).
I notice the condensor fan seems a tad loud in the early hours when I wake. Will be interesting to see how loud this is if under the bed of the camper. In fairness, my 20+year old engel is noisy too!
I'll add to this post as I do further testing/prodding/playing. I will run this from the car and measure the amp hours drawn at some stage. I'll also post what mods I do to it in the future as time permits me to work on it.
But so far, not having it in the scrub, It appears to be doing the job of an inhouse fridge/freezer quite well, this is not what I purchased it for though, so the car test should be interesting. Not withstanding I have not measured supply voltage or current draw from the 240v adaptor.
**********************************************************************************
I did a bit of reading on these before purchase. Interestingly I see people are playing with the divider height to adjust temp difference between compartments. I also read a good tip is when measuring temps, put the probe in a glass of water, don't measure air temps.
I have 3 temp probes. 2 are identical wireless transmitter jobbies, evakool and two zone branded. the other is a waterproof micronta unit I purchased some years back. I'm reluctant to place the wireless jobbies into water, I'm sure they're not water proof. However I get readings within a degree or two between the different types in the same (non-submerged) place.
I am really only interested in running this unit as a fridge freezer combined unit, so I will not evaluate it as a sole fridge or freezer.
The unit is loaded quite lightly (1x250Ml water and 1x 200gm steak in the freezer) and (1 x 250ml water, 1 x 6pack of glass stubbies and 1 x 2l cask of vodka premix in the fridge). This unit is inside the house, running off a supplied 240/12v converter. All testing below was conducted with the thermostat at 7 in normal mode.
When I ran this with the unmodified divider, as expected I had a large temp difference between the 2 sides (-17/+10 - air temp measurement only) - I'm sure the +10 air value is not a true indication.
So I put 2 small pieces of packing under the divider, about 12mm in height. This made a huge difference, however the fridge dropped to -3deg. This is too much for a fridge.
So I added some foam tape about 3mm thick at the bottom, effectively raising the divider by 3mm off floor level. This seemed to produce the results I was looking for. I now have a freezer temp of about -11 and the fridge is about +2. This is about temp differential I was trying to obtain. The freezer probe is on top of the steak with the frozen water sitting on top of this. The fridge probe is the micronta unit in the bottle of fridge water. both probes are near the bottom of the baskets. It has sat in the house for 12 hours untouched, ambient inside temp at present is about 28 deg.
I should report back the results of either switching to economy or reducing the thermo to about 4 overnight. Something I would probably do when out bush under battery power. I have not measured compressor cycle time as apart from the 12 hours today, I keep removing beers from the 6 pack
Some interesting things I've noticed so far.
The supplied lead is only 1.3mm sq conductor area about 2mm core dia. This is terminated in a hella/merit combined plug.
The lead is terminated on the fridge by a pissant cannon type connector. Someone I know on a forum reported recently that he did some heart surgery to his evakool fiberglass unit and changed this plug and also the compressor wiring. I'm sure some efficiency gains could be made here.
The baskets sit proud by 30mm off the fridge floor (to allow cool air to circulate). You lose some storage height from this. The baskets are supported by 4 (again pissant) plugs riveted inside. I can see these will fail when fully loaded over the rough stuff. I will make some sort of heavy foam strip to take the load off the plugs.
The outside of the poly shell feels about 10 deg below ambient (guesswork here) so you are losing some efficiency to atmosphere.
I find the bungee straps keep getting caught under the lid when you close it up. Not a problem, just a small inconvenience.
These are quite low but long. being so long, I believe lid bending can be an issue. However I can live with this if it can be rectified by adding some more foam tape to create a seal (mine is flat at present).
I notice the condensor fan seems a tad loud in the early hours when I wake. Will be interesting to see how loud this is if under the bed of the camper. In fairness, my 20+year old engel is noisy too!
I'll add to this post as I do further testing/prodding/playing. I will run this from the car and measure the amp hours drawn at some stage. I'll also post what mods I do to it in the future as time permits me to work on it.
But so far, not having it in the scrub, It appears to be doing the job of an inhouse fridge/freezer quite well, this is not what I purchased it for though, so the car test should be interesting. Not withstanding I have not measured supply voltage or current draw from the 240v adaptor.
**********************************************************************************
Inhouse temp monitoring:
I have been monitoring temps v's thermostat settings for a week now.
I find the temp probes are very finicky, in such that a slight movement of the probe can have a large effect on measured temps. Therefore for all future testing reported, please bear in mind the inaccuracies that may be apparent.
All ambient temps were at 25deg +/- 1. All temp probes were kept in the same spot for comparison testing.
setting #8, Freezer -14, Fridge -0.5
setting #7, Freezer -10.4, Fridge 2.7
setting #6, Freezer -9, Fridge 2.4
setting #5 ,Freezer -6, Fridge 5
setting #4, Freezer -5, Fridge 5
Note, when run in economy mode, there appeared to be no temp difference for the same thermostat setting
I find the temp probes are very finicky, in such that a slight movement of the probe can have a large effect on measured temps. Therefore for all future testing reported, please bear in mind the inaccuracies that may be apparent.
All ambient temps were at 25deg +/- 1. All temp probes were kept in the same spot for comparison testing.
setting #8, Freezer -14, Fridge -0.5
setting #7, Freezer -10.4, Fridge 2.7
setting #6, Freezer -9, Fridge 2.4
setting #5 ,Freezer -6, Fridge 5
setting #4, Freezer -5, Fridge 5
Note, when run in economy mode, there appeared to be no temp difference for the same thermostat setting
The biggest trouble I'm having doing a temp comparison is that due to movement, I can not keep the probes as per the in.house testing. So I will show temps, but read into them what you will. I note when in the house I had -10/2.7 degrees (setting 7). As soon as placed in the vehicle this changed to -3.2/4.5 as the probes had moved.
The fridge was placed into the vehicle direct from the house after the temp measurements posted above. So the fridge was cool soaked before placement.
I am only testing this on setting #7. In normal mode, the fridge seems to be drawing aprox 4.3 amps. When selecting economy, this drops to aprox 2.6 amps. Thus your saving about 1.5 amps of draw. However, on economy, it may take longer to cycle the compressor, you may not be saving anything in the long run.
This will only be a 24hour test.
The vehicle will be parked in the shade for most of the day, I do need to do a 70Km round trip later in the day at about 1430 hours, where it will be parked in direct sunlight till sunset and I will be returning in the wee small hours.
Two hour report:
after some probe repositioning ( I will leave here for the remainder of the test), I can report the following
31.8deg ambient - freezer -7.0, fridge 2.7
The compressor cycle time (one duration) was 18 Mins on, 7Mins off.
Battery is showing 60% capacity, 12.1V@4.2 amp draw. It has used 11A/Hrs.
Lid has been opened repeatedly, trying to sort those damn probes out. I will leave lid closed for the remainder of the test (unless it all goes pear shaped when in transit)
One thing to note, this is not what I would call a friendly car fridge. If you have a barrier fitted, it may not fit in length ways, thus you will be consuming a lot of storage. My 40L engel is much friendlier, being shorter but higher. However, this fridge was purchased solely for a camper. The 50L + 90L models would be better in this scenario as they are shorter, but subsequently much higher, so you would need to keep these low if vehicle installed.
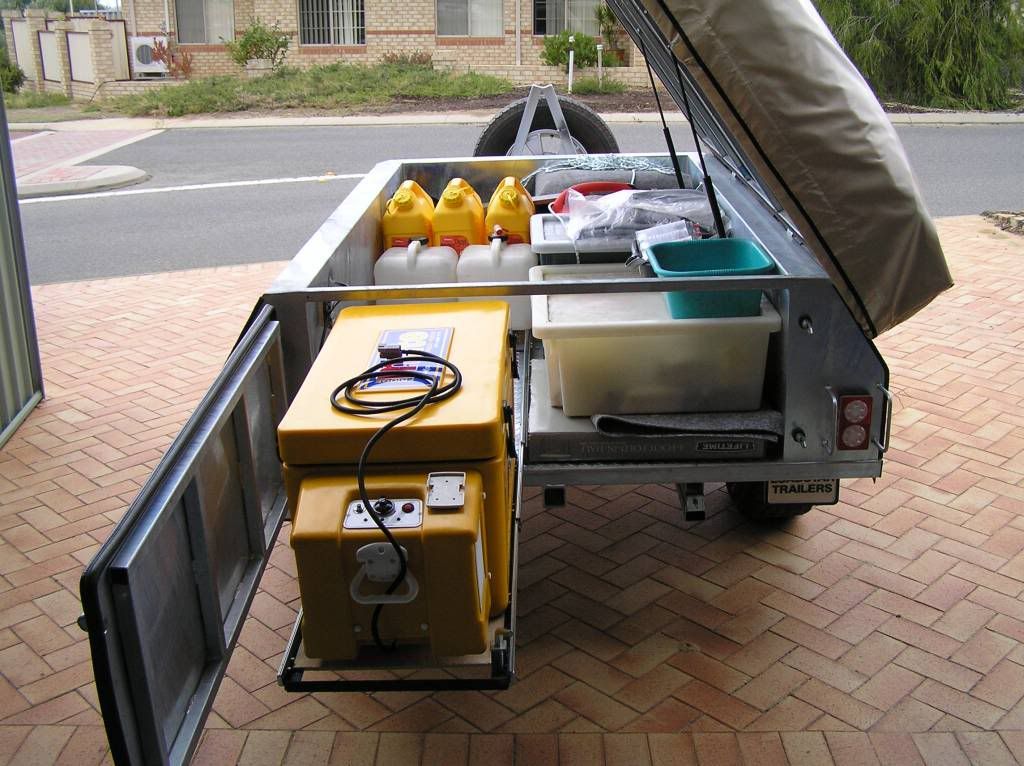
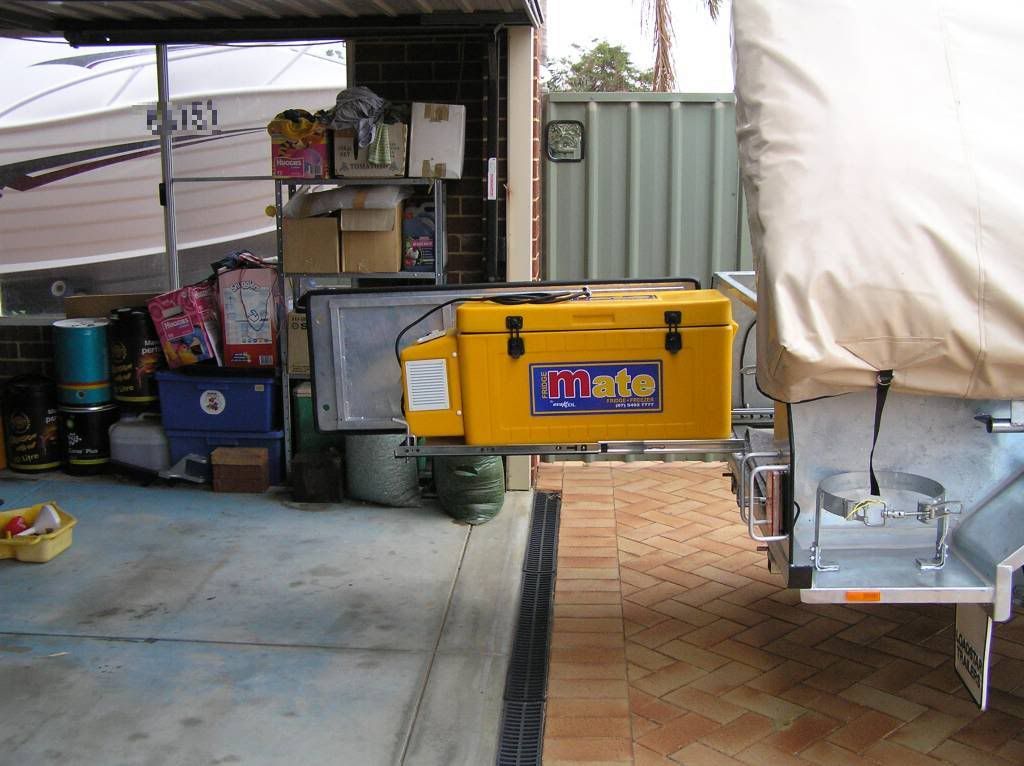
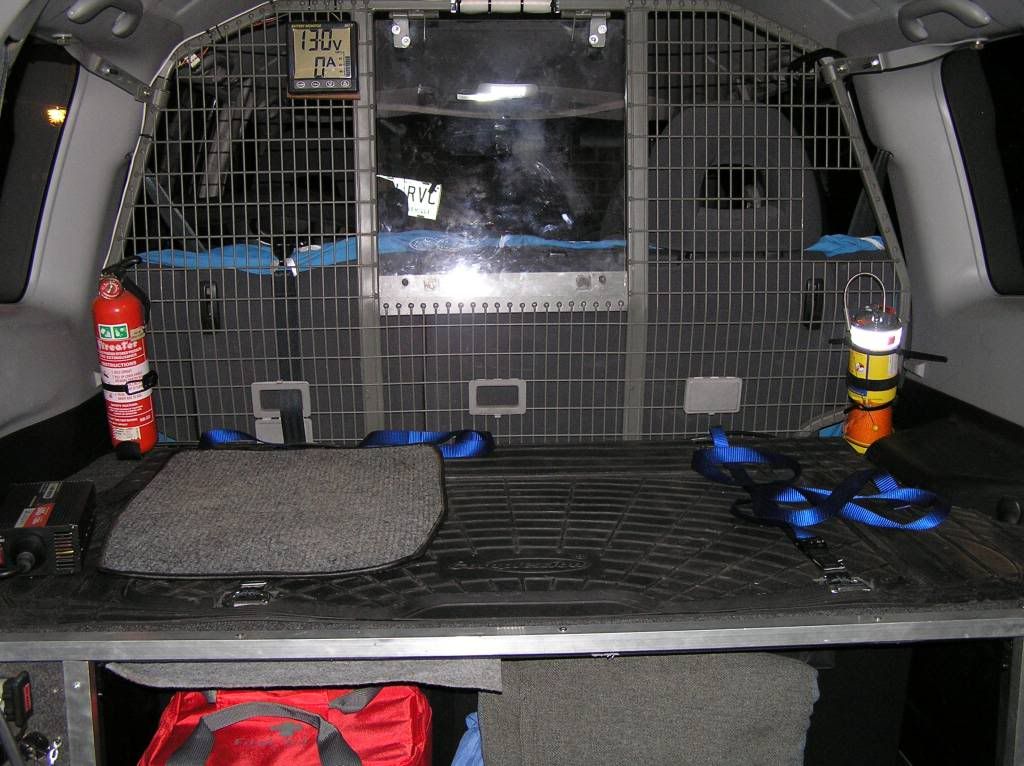
A couple of pics below showing current draw/temps and another showing the room consumed in the vehicle.
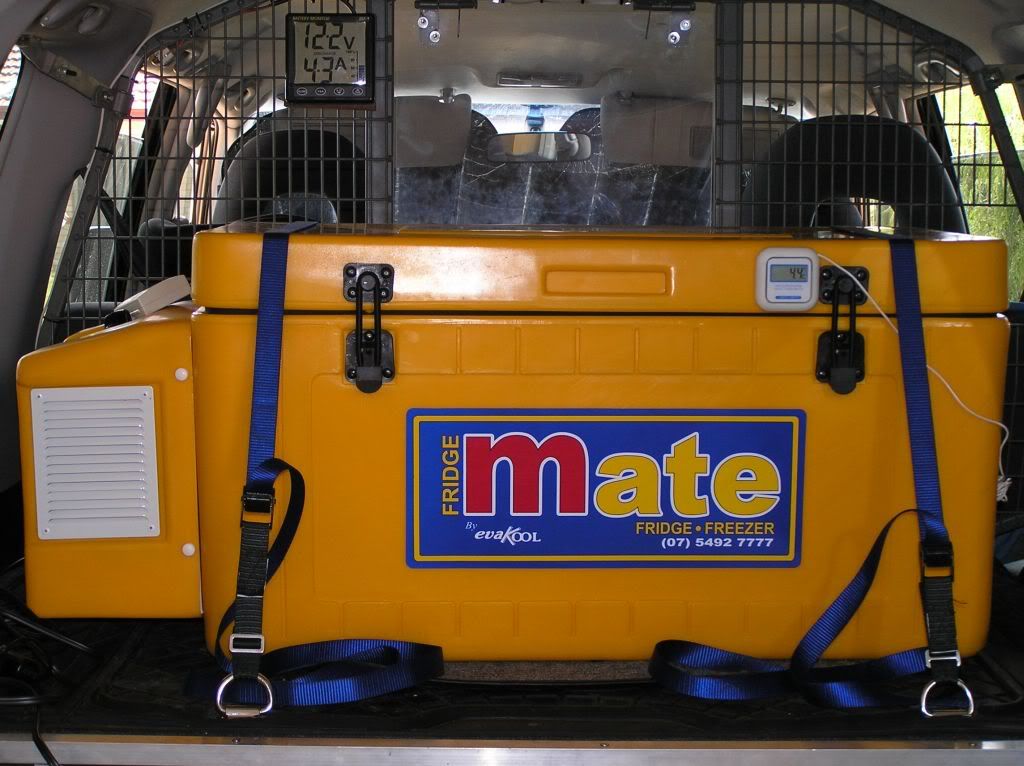
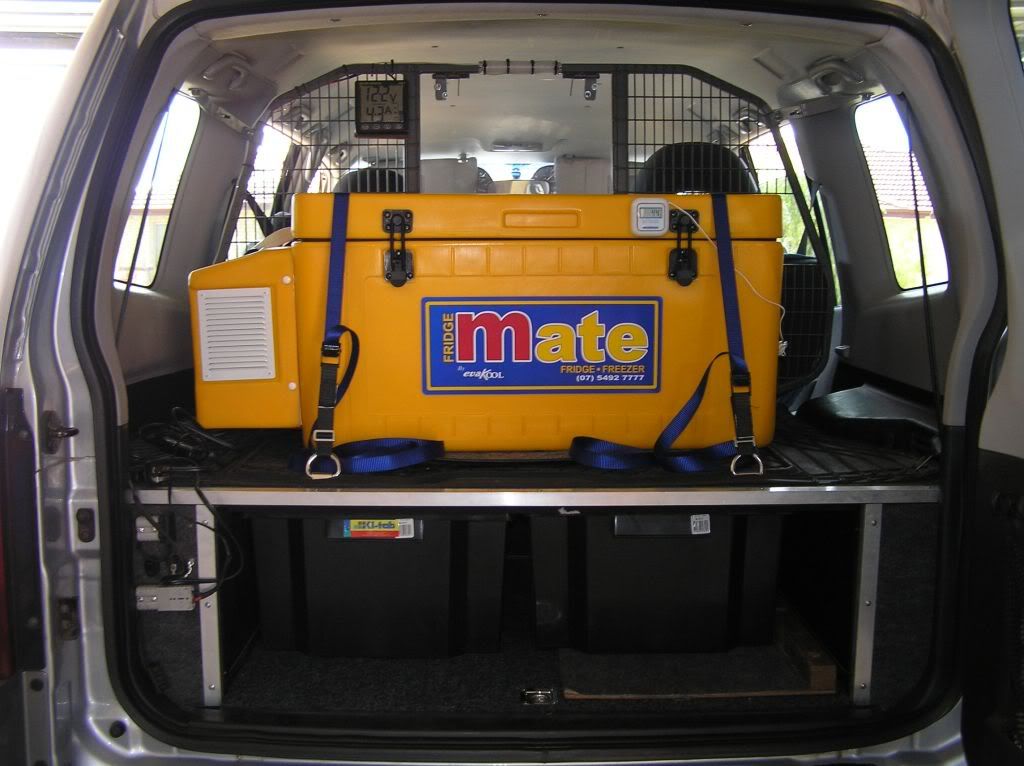
24Hr incar test results - normal mode
This is a power hungry little bugger. I suspected so when it drew 4.5 amps and the cycle on/off time ratio was 2.5:1. But bear in mind its relatively large at 70L and is running in freezer mode.
After 24 hours this consumed 56Amp-hours of juice. So without a recharge you will need a minimum 80Ah deep cycle battery to keep discharge above the 20% recommended for a deep cycle for a days running.
Min freezer temp was -9.9 @ 26.6 ambient
Max freezer temp was -6.6 @34.5 ambient
(this Max temp was also when I repositioned the probe, so it might have just been due to probe positioning adjustment)
Current draw as previously mentioned was aprox 4.5 amps (rounded value)
Currently its sitting on -9.6/1.7 at 27.3 ambient. (these values are now similar to the in house testing conducted)
I have switched to economy mode and will report the differences (after I recharge my battery, currently at 40% SOC)
After 24 hours this consumed 56Amp-hours of juice. So without a recharge you will need a minimum 80Ah deep cycle battery to keep discharge above the 20% recommended for a deep cycle for a days running.
Min freezer temp was -9.9 @ 26.6 ambient
Max freezer temp was -6.6 @34.5 ambient
(this Max temp was also when I repositioned the probe, so it might have just been due to probe positioning adjustment)
Current draw as previously mentioned was aprox 4.5 amps (rounded value)
Currently its sitting on -9.6/1.7 at 27.3 ambient. (these values are now similar to the in house testing conducted)
I have switched to economy mode and will report the differences (after I recharge my battery, currently at 40% SOC)
24Hr incar test results - Economy mode
Well my fears have been realised. There has been no power usage gain running in economy mode. What this means is that whilst the compressor is running slower, it is running for longer. Infact I have only seen the compressor cycle off once in all this time. I guess this could potentially lessen the compressors life longer term as it doesn't rest.
Evakool state that you will save power but only when ambient is sub 30deg. (it does draw 2 amps less in this mode)
I note the freezer temp has been lowering the more I run it.
Power consumption: 56Ahours
Min temp -13.3 @ 26.6 ambient
Max temp -8.7 @35.1 ambient
(note: I did add 2 freezer bricks to the freezer, this would have increased the freezer temp a little - -8.7???)
currently -11.9/0.4 @ 35.1 ambient
I think I will finish this test review here until a proper bush test gets performed, unless someone wants me to add other detail.
Evakool state that you will save power but only when ambient is sub 30deg. (it does draw 2 amps less in this mode)
I note the freezer temp has been lowering the more I run it.
Power consumption: 56Ahours
Min temp -13.3 @ 26.6 ambient
Max temp -8.7 @35.1 ambient
(note: I did add 2 freezer bricks to the freezer, this would have increased the freezer temp a little - -8.7???)
currently -11.9/0.4 @ 35.1 ambient
I think I will finish this test review here until a proper bush test gets performed, unless someone wants me to add other detail.
What to do now?
This testing was done so that I could decide what battery I need to install into my camper. I am happy with the temps recorded, but I will refine the thermostat setting over time to give the best balance of temp/power consumption.
So to get 24hrs running, with a depth of discharge to 20% plus a safety margin, I need a minimum of an 80AHr battery (in current ambient temps I tested in). This will need topping up every day. I will look to putting a 130AHr deep cycle in the trailer. With some tweaking and care, I should be able to squeeze 2 days out of this and also have the vehicle aux supply another days usage.
Then what to do for extended stays?
So to get 24hrs running, with a depth of discharge to 20% plus a safety margin, I need a minimum of an 80AHr battery (in current ambient temps I tested in). This will need topping up every day. I will look to putting a 130AHr deep cycle in the trailer. With some tweaking and care, I should be able to squeeze 2 days out of this and also have the vehicle aux supply another days usage.
Then what to do for extended stays?
- Solar (expensive and reliant upon sunlight, cumbersome and fragile to transport but lightweight)
- Genset (less expensive, more weather reliable than solar, noisy, require fuel to be carried and more weight)
- Just carry my 3way and run on gas when camped
Oh, the decisions to make. But I do like the thought of a genny for the amount of time long stays will be required.
*****************************************************************************
6 weeks after testing as above:
Fridge has been running non-stop without fault since I first posted the review here.
I'm starting to think the fridge is too small and the freezer too big. So today I made a custom divider out of 1" eva sheet I had lying around. I left the freezer basket in place to protect the evap. plate and removed the fridge basket. Outcome: a huge difference in volume to better suit my needs. Just need to run some tests to confirm I don't freeze the fridge side of the freezer basket.The small section of the fridge basket will fit 2 loaves of bread for off the beaten track trips away.
Also purchased a Projecta IC1000 7 stage charger and 3.4KVa genny from ebay to keep the cells refreshed when stationary.